How to Make a Certificate in Google Docs (and a Faster Way)
Google Docs can build basic certificates if you know the single-cell table trick. But border clipping and shifting boxes make it tedious. Here is the full tutorial and a 60-second alternative.
Suraj FT
Lead Certificate Designer & Publishing Specialist
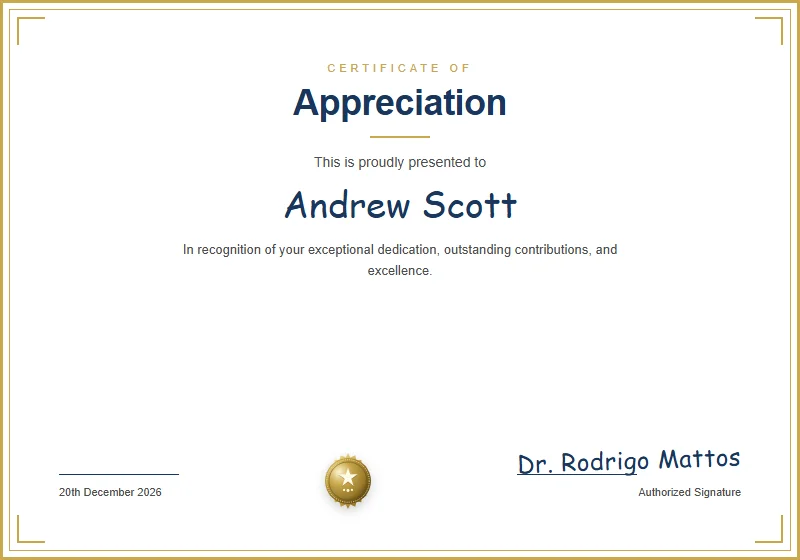
- Why Build a Certificate in Google Docs?
- Step-by-Step Tutorial: Building a Certificate in Google Docs
- Best Google Fonts Pairings for Certificates
- 5 Annoying Problems You Will Encounter in Google Docs
- Comparison: Google Docs vs. Dedicated Certificate Maker
- The Faster Way: Create a 300 DPI Certificate in 60 Seconds
Google Docs is the world's go-to free word processor. It runs in any web browser, autosaves to Google Drive, and requires no expensive software licenses. Because of this convenience, thousands of teachers, HR managers, and club organizers open a blank Google Doc whenever they need to create an award certificate on short notice.
However, Google Docs was engineered for running paragraphs and multi-page reports—not graphic layout design. Building a visually balanced certificate in Google Docs requires several counterintuitive workarounds. Below, we provide the complete step-by-step tutorial to make it work, walk through its biggest design limitations, and introduce a faster browser-based workflow using Free Printable Certificate Templates that saves hours of frustration.
Why Build a Certificate in Google Docs?
The primary advantage of Google Docs is accessibility. You do not need Adobe InDesign, Photoshop, or a paid Canva subscription. You can collaborate live with teammates, easily share files with colleagues, and export directly to PDF. But because Google Docs lacks a dedicated "Page Border" tool, you must manipulate tables or drawing canvasses to achieve a framed look.
Step-by-Step Tutorial: Building a Certificate in Google Docs
Follow these six steps to build a basic certificate from scratch in Google Docs:
Step 1: Set Page Orientation to Landscape
Click File > Page setup. In the dialog box:
- Set Orientation to Landscape.
- Set all four Margins (Top, Bottom, Left, Right) to 0.5 inches (or 0.25 inches for a wider border).
- Ensure Paper size is set to Letter (8.5 x 11 in) or A4 depending on your region. Click OK.
Step 2: Create a Border Using a 1x1 Table
Google Docs does not have a native page border tool. The most reliable workaround is inserting a single-cell table:
- Click Insert > Table and select a 1x1 grid (a single box).
- Right-click inside the box and select Table properties.
- Under the Color panel, set Table border width to 3 pt or 4.5 pt and choose your border color (navy, gold, or charcoal).
- Under Cell, increase Cell padding to 0.4 inches so your text does not press against the borders.
- Drag the bottom border line down until the box fills nearly the entire page without spilling onto page 2.
Step 3: Add and Align Your Certificate Text
Click inside your table, set your text alignment to Center (Ctrl+Shift+E / Cmd+Shift+E), and structure your content:
- Header: Type CERTIFICATE OF ACHIEVEMENT (28–36 pt, all-caps, bold).
- Presentation Line: This is proudly presented to (12–14 pt, italic).
- Recipient Name: [Recipient Name] (32–40 pt, display serif font).
- Citation: 2–3 sentences detailing the accomplishment (11–13 pt, regular).
- Date: Conferred on [Date] (10–12 pt).
Step 4: Insert Signature Lines
To create two balanced signature lines at the bottom of your certificate:
- Insert a nested 2x1 table at the bottom of your main cell.
- Right-click the nested table, go to Table properties, and set the border width to 0 pt (making the grid invisible).
- In each cell, type an underscore line (e.g., ___________________), followed by the signer's name and title below.
Step 5: Export to PDF for Printing
Never print directly from the browser window using Ctrl+P. Web browser print engines scale pages inconsistently, often shrinking your table borders by 4% to 8%. Instead:
- Click File > Download > PDF Document (.pdf) to lock your formatting into a static document.
- Open the downloaded PDF in Adobe Acrobat or your operating system's native viewer.
- In the print dialogue, select Actual Size or 100% Scale (do not choose "Fit to Printable Area", which compresses borders).
- Load 65 lb to 80 lb white cardstock into your manual feed tray for a sturdy, professional finish.
Best Google Fonts Pairings for Certificates
Default fonts like Arial or Times New Roman look like a school permission slip. Upgrade your document by using these Google Fonts pairings available under More fonts:
Cinzel + Cormorant Garamond
Majestic Roman serif capitals for the title, matched with fluid Renaissance serifs for recipient names and citations.
Playfair Display + Montserrat
High-contrast editorial serif headers paired with clean geometric sans-serif for body citations and signature titles.
5 Annoying Problems You Will Encounter in Google Docs
While Google Docs works in an emergency, anyone who designs certificates regularly hits these roadblocks:
- The Infamous Spilling to Page 2: Adding a single line of text or bumping font size often pushes your bottom table border onto a blank second page, requiring endless margin tinkering.
- No Ornamental Guilloché or Double Borders: You are limited to basic solid or dashed table borders. Intricate vintage corners or double gold moldings cannot be rendered natively.
- Image Floating Glitches: Transparent PNG gold seals and ribbons frequently jump position when text changes length.
- Lack of Curved or Arch Text: You cannot curve certificate titles like "UNIVERSITY OF SCIENCE" over an arch without clunky Google Drawings workarounds.
- Painful Batch Processing: If you need to produce 40 student certificates, you must manually copy-paste names 40 times and download 40 separate PDF files.
Comparison: Google Docs vs. Dedicated Certificate Maker
| Feature | Google Docs | Certificate Maker AI |
|---|---|---|
| Setup Time | 15–25 minutes of table tweaking | Under 60 seconds |
| Borders & Seals | Basic solid lines only | Vector ornamental, gold foil & medallions |
| Layout Stability | Prone to jumping onto page 2 | Locked, responsive vector canvas |
| Print Resolution | Standard 72–150 DPI | Crystal clear 300 DPI vector PDF |
| Account Required | Requires Google Account | Zero sign-up or login required |
The Faster Way: Create a 300 DPI Certificate in 60 Seconds
If you want to skip manual table margins entirely, you can use our pre-built certificate designs:
- If you want total creative freedom with clean proportional borders, start with the Blank Canvas template.
- If you need dignified collegiate borders for graduations or corporate honors, open the Academic Classic template.
Simply visit our Free Printable Certificate Templates gallery, click directly on any text field to edit your recipient names, and export a print-ready vector PDF in seconds.
Free Printable Certificate Templates
Browse dozens of high-resolution, print-ready certificate designs with zero watermarks. Customize fields, adjust typography, and download in vector print quality.
Recommended Templates for This Guide
Both templates are available for instant editing with zero watermarks or signup gates.
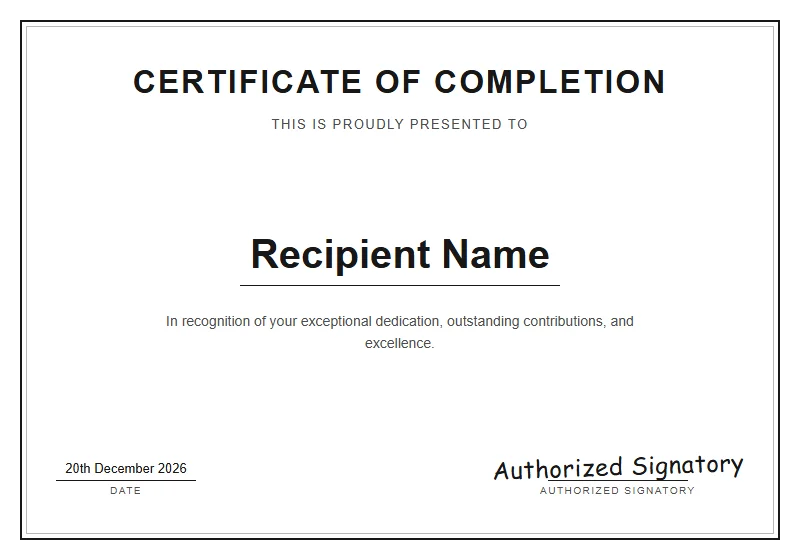 Clean Slate
Blank Canvas
A clean slate with balanced margins, ideal for designing custom certificates from scratch without formatting headaches.
Formal AcademicAcademic Classic
Traditional ornamental double borders and collegiate typography, designed for formal academic achievements.
Suraj FT
Lead Certificate Designer & Publishing Specialist
Suraj FT is a digital publishing specialist and print designer with over a decade of experience designing formal credentials, corporate awards, and document typography.
Related Certificate Guides
Certificate of Appreciation Wording: 40 Examples
Stuck on what to write on a certificate of appreciation? Here are 40 field-tested wording examples organized by role, plus the anatomical breakdown of an unforgettable citation.
Certificate of Completion Wording Examples for Courses and Workshops
Writing a certificate of completion requires balancing academic authority with crisp design. Here are real wording samples for bootcamps, workshops, and continuing education.
What to Write on a Participation Certificate (With Samples)
Participation certificates shouldn't feel like empty consolation prizes. Here is how to write thoughtful citations that celebrate grit, presence, and genuine contribution.